 Map
Map
Gaukendi Bridge
Today's Surf Conditions at Gaukendi Bridge
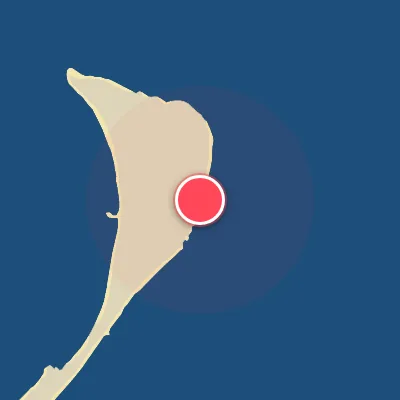
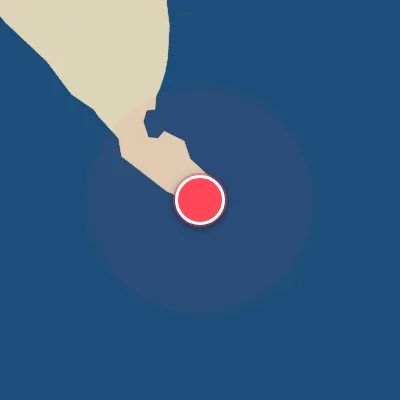
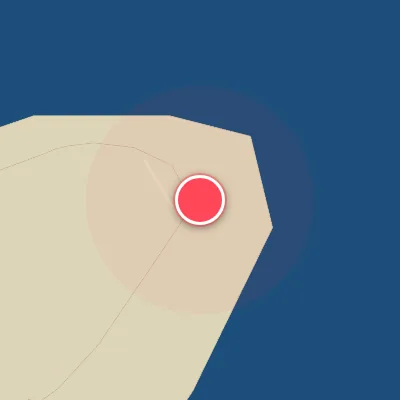
Spot Conditions Map
Hover over the hourly chart columns to update the wind & swell direction overlays on the map.
Today's Surf & Wind Forecast (Hourly)
Loading forecast text...
Spot Overview & Description
Nestled along the coastline, Gaukendi Bridge offers a modest but rewarding surf experience, particularly when the swell is on the smaller side. Its south-facing orientation creates a welcoming setup that tends to fly under the radar, delivering fun waves without the crush of a crowded lineup. The primary zones to focus on are the left-hander peeling off the south side and the friendly peak in the center. Steer clear of the north side, where closeouts consistently sap the ride potential. Gaukendi Bridge truly comes to life with a Southeast or Southwest swell, handling waves around two feet (0.6 meters) with grace—making it a prime option for those smaller days when other spots are flat. The waves break over a bed of dead coral, offering a consistent, albeit short-lived, left-hander. Optimal conditions align when the wind breathes from the Northeast, and the best sessions unfold during mid-to-high tide. This spot is best suited for intermediate surfers; beginners may find the short, punchy rides and reef bottom a bit unforgiving, so it’s wise to build confidence elsewhere first. Expect quick, snappy rides here—there’s no room for hesitation when the wave appears. The setup is notably safer on higher tides, which can make for a more relaxed session if you time it right. While you won’t find long, drawn-out walls or epic barrels, Gaukendi Bridge delivers consistent, straightforward fun for those who embrace its modest charms.
Best Surf Season & Climatology
Best Surf Season (January - February)
The northeast monsoon locks in a steady stream of offshore winds from the ENE to NNE quadrants, providing clean conditions for Gaukendi's west-facing breaks. Swell from the SSW-SW is moderate but consistent, averaging 1.2m with periods around 10 seconds. This is the peak window for quality waves, with the wind ideal over 57% of the time. Expect fun, punchy waves in the 1-1.5m range, often glassy and well-shaped.
Fair Surf Season (March & December)
As the monsoon transitions, these months offer a mix. March still sees frequent offshore winds (44% ideal) and building SSW swell with longer periods (11.2s), while December marks the return of the northeast monsoon with improving offshore wind percentages (32% ideal). Conditions are good but less consistent than the peak season, with a higher chance of onshore flow during swell episodes.
Low Surf Season (April - November)
The southwest monsoon dominates from April through November, bringing onshore winds from the W-SW quadrant for the majority of the time. Despite abundant and powerful swell from the Southern Ocean and Indian Ocean storms — especially from April through November — the wind direction is almost always opposing the optimal swell direction, resulting in choppy, blown-out surf. However, within this period, June through August offer occasional windows of offshore wind (especially from the east) during transitional weather patterns, providing brief opportunities for clean waves. November stands out for its maximum optimal swell percentage (54%), but the onshore flow is relentless.
Detailed Surf Information for Gaukendi Bridge
Detailed Surf Forecast
Access our detailed 8-day swell and wind forecast charts for Gaukendi Bridge with tidal graphs, period ranges, and daily forecast text summaries.
Swell & Wind Statistics
Explore historical swell consistency, wave heights, and offshore wind windows month-by-month, compiled from over 40 years of data.
Historical Surf Report
Browse the historical database archives to view past wave reports and understand spot climatology during specific years and months.