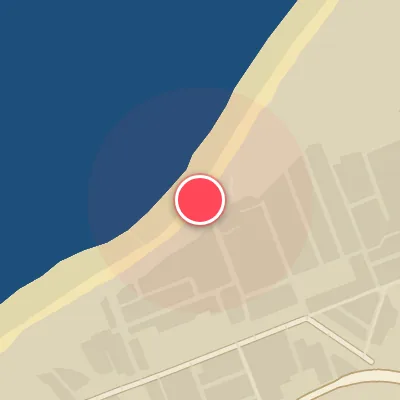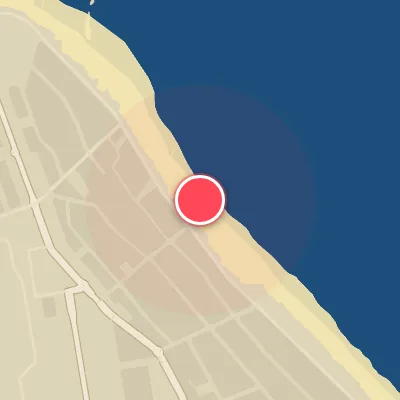
 Map
Map
Oakura Beach
Today's Surf Conditions at Oakura Beach
Spot Conditions Map
Hover over the hourly chart columns to update the wind & swell direction overlays on the map.
Today's Surf & Wind Forecast (Hourly)
Loading forecast text...
Spot Overview & Description
Oakura offers a mellow, yet consistently rewarding beachbreak just south of New Plymouth, serving up both lefts and rights over a mix of sand and patchy reef. It’s a reliable go-to when strong southerlies spoil other spots, making it a prime refuge for surfers looking to escape the wind. The setup here is dynamic: at high tide, a playful beachbreak unfolds right in front of town, while low tide exposes shifting sandbars shaped by multiple stream mouths. For those chasing a bit more juice, an outer bombie comes to life on bigger swells, offering a wider, more powerful wave for experienced surfers. Overall, Oakura is a versatile, all-season option that delivers moderate waves across a range of tides, with the best conditions when the swell rolls in from the west or northwest and the winds swing offshore from the southeast.
Best Surf Season & Climatology
Best Surf Season (March - May)
As the Tasman Sea transitions from summer to winter, March through May delivers the sweet spot of conditions at Oakura Beach. Average swell heights climb from a solid 1.7m to 2.1m, paired with long periods of 12.1s to 12.3s that bring powerful, well-structured lines. The offshore wind window from S/SSW/SW/WSW opens up 23-27% of the time, offering clean, glassy sessions especially when the dominant WSW swell wraps into the bay. While the preferred NW quadrant swell remains a smaller portion of the mix, the combination of building groundswell, favourable wind odds, and comfortable autumn temperatures makes this the prime window for quality waves.
Fair Surf Season (June - August)
Winter locks in across the Tasman, and Oakura Beach sees its largest average swell of 2.1m with periods hovering around 11.7-12.1s. The roaring forties crank up extratropical storms, sending consistent, powerful WSW swell marching into the coast. However, the wind becomes a more fickle player – ideal offshore conditions drop to 21-24% of the time, with frequent NW quadrant onshore flows spoiling the shape. When the stars align, a deep low with a trailing cold front can deliver a clean, long period WNW swell under a southerly breeze, turning the beach into a hollow, punchy playground. Expect more flat days between fronts, but the size and power potential keep this season on the radar for experienced surfers chasing a challenge.
Low Surf Season (September - February)
From early spring through late summer, Oakura Beach faces its most inconsistent period. September and October still pack a punch with 2.1m average swell and 11.9-12.3s periods, but ideal offshore wind plummets to a mere 16%. Dominant WSW swell often arrives with onshore NW winds, creating choppy, messy conditions. The summer months of November through February see swell heights drop to 1.6-1.8m and periods shorten to 11.0-11.3s, reducing the overall energy. The wind remains tricky, with only 16-17% of the time blowking offshore. That said, when a rare NW groundswell combines with a light southerly breeze, Oakura can still produce fun, rippable waves – but these events become fleeting gems in an otherwise low-quality window.
Detailed Surf Information for Oakura Beach
Detailed Surf Forecast
Access our detailed 8-day swell and wind forecast charts for Oakura Beach with tidal graphs, period ranges, and daily forecast text summaries.
Swell & Wind Statistics
Explore historical swell consistency, wave heights, and offshore wind windows month-by-month, compiled from over 40 years of data.
Historical Surf Report
Browse the historical database archives to view past wave reports and understand spot climatology during specific years and months.