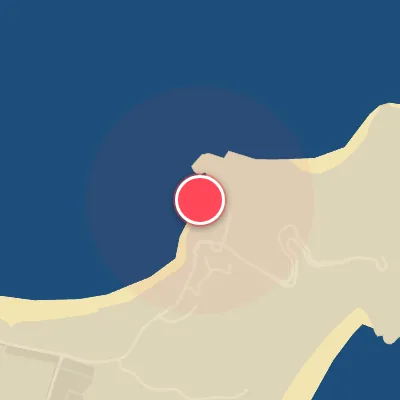
 Map
Map
Lennox Head
Today's Surf Conditions at Lennox Head
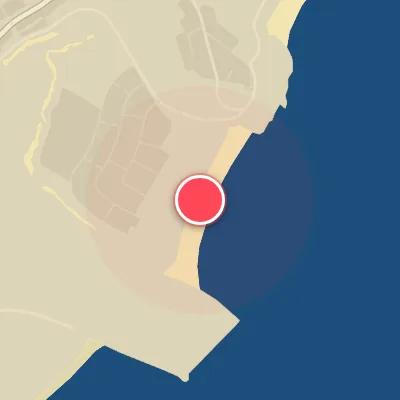
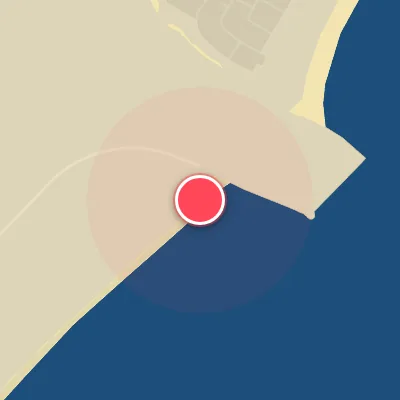
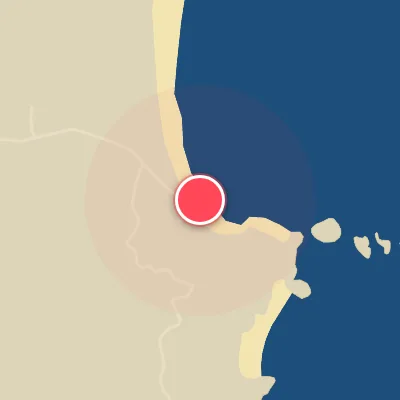
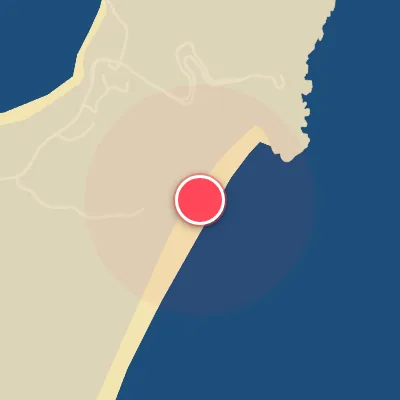
Spot Conditions Map
Hover over the hourly chart columns to update the wind & swell direction overlays on the map.
Today's Surf & Wind Forecast (Hourly)
Loading forecast text...
Spot Overview & Description
Lennox Head stands as a crown jewel of New South Wales’ North Coast, a point break that has captivated surfers since the early 1960s with its stunning backdrop and rich surf culture. This is a wave that demands respect—a right-hander of serious intent, peeling over a boulder-strewn reef. It comes alive on a south swell, handling 3-foot-plus energy with authority, and also performs decently from northeast and south directions. The ideal wind is a clean southwest, and the wave works across all tides, though the shifting currents and tricky paddle-out separate the skilled from the hopeful. The ride here is full-throttle: fast sections, barrel opportunities, and a need for precise timing and expert-level ability. On prime days, expect a thick lineup, as locals and visitors alike jockey for position. If the point is flat or the crowd too much, there are scrappy beach breaks around town—perfect for groms or anyone after a more relaxed session. When the main show isn't firing, check the spots near the lake, but be warned: wave competition can be fierce even then. Lennox offers no shortcuts, but for those who earn it, the payoff is unforgettable.
Best Surf Season & Climatology
Best Surf Season (May – August)
Winter delivers the goods at Lennox Head. As high-pressure systems track north across the Tasman Sea, they usher in a consistent stream of cool, offshore SW to WNW winds that groom the ocean surface to perfection. With ideal wind conditions blowing 58-70% of the time, the combination of powerful E to SSE groundswells and clean offshore airflow creates peak surfing conditions. Average wave heights hover around 1.5-1.7m with periods clocking in at 9.3-9.6s, delivering punchy, rippable walls that make the most of Lennox's sand-bottom points and beach breaks. This is when the Point truly comes alive.
Fair Surf Season (April & September)
April and September act as transitional windows, offering a solid mix of swell and wind. In April, the autumn change brings a drop in northerly winds and a rise in offshore flow – ideal wind jumps to 47% – while swell heights remain consistent at 1.7m from the E-ESE. September sees the spring transition, with ideal wind at 45%, though a higher incidence of northerly onshore flow (up to 25% from N-NNE) can chop things up. When the wind aligns, these months deliver fun, long-period groundswell from the SE-SSE that wraps into the bay.
Low Surf Season (October – March)
Summer and early autumn are challenging at Lennox Head. The dominant wind regime shifts to northerly and northeasterly directions, blowing directly onshore and ruining wave quality for extended periods. Ideal offshore wind plummets to 20-32% during these months. While swell energy remains present – especially from the NE to E corridors (October through March sees 50-65% of total swell from these optimal directions) – the persistent onshore flow keeps conditions messy, short-period, and choppy. Only brief windows of westerly change, often following a trough or low-pressure system, can briefly salvage a session. For the average surfer, this is a waiting game.
Detailed Surf Information for Lennox Head
Detailed Surf Forecast
Access our detailed 8-day swell and wind forecast charts for Lennox Head with tidal graphs, period ranges, and daily forecast text summaries.
Swell & Wind Statistics
Explore historical swell consistency, wave heights, and offshore wind windows month-by-month, compiled from over 40 years of data.
Historical Surf Report
Browse the historical database archives to view past wave reports and understand spot climatology during specific years and months.